
作者:翟天保Steven
版权声明:著作权归作者所有,商业转载请联系作者获得授权,非商业转载请注明出处
实现原理
色温是表示光线中包含颜色成分的一个计量单位。从理论上说,黑体温度指绝对黑体从绝对零度(-273℃)开始加温后所呈现的颜色。黑体在受热后,逐渐由黑变红,转黄,发白,最后发出蓝色光。当加热到一定的温度,黑体发出的光所含的光谱成分,就称为这一温度下的色温,计量单位为“K”(开尔文)。
在图像处理中,对图像进行色温调整也是常见的操作之一。一般情况下,认为暖色偏黄色,冷色偏蓝色,基于此逻辑,在提高色温的时候,对红色和绿色通道进行增强,对蓝色通道进行减弱,这样就能让图像的黄色占比提高,进而达到暖黄色的效果;反之亦然,降低色温,只需要增强蓝色通道,减少红色和绿色。
至此,图像实现了色温的调整。C++实现代码如下。
功能函数代码
// 色温调节
cv::Mat ColorTemperature(cv::Mat input, int n)
{
	cv::Mat result = input.clone();
	int row = input.rows;
	int col = input.cols;
	int level = n/2;
	for (int i = 0; i < row; ++i)
	{
		uchar* a = input.ptr<uchar>(i);
		uchar* r = result.ptr<uchar>(i);
		for (int j = 0; j < col; ++j)
		{
			int R,G,B;
			// R通道
			R = a[j * 3 + 2];
			R = R + level;
			if (R > 255) {
				r[j * 3 + 2] = 255;
			}
			else if (R < 0) {
				r[j * 3 + 2] = 0;
			}
			else {
				r[j * 3 + 2] = R;
			}
			// G通道
			G = a[j * 3 + 1];
			G = G + level;
			if (G > 255) {
				r[j * 3 + 1] = 255;
			}
			else if (G < 0) {
				r[j * 3 + 1] = 0;
			}
			else {
				r[j * 3 + 1] = G;
			}
			// B通道
			B = a[j * 3];
			B = B - level;
			if (B > 255) {
				r[j * 3] = 255;
			}
			else if (B < 0) {
				r[j * 3] = 0;
			}
			else {
				r[j * 3] = B;
			}
		}
	}
	return result;
}
C++测试代码
#include <iostream>
#include <opencv2\\opencv.hpp>
#include <opencv2/highgui/highgui.hpp>
using namespace cv;
using namespace std;
cv::Mat ColorTemperature(cv::Mat input, int n);
int main()
{
cv::Mat src = imread("test4.jpg");
int n1 = 50;
int n2 = -50;
cv::Mat result1 = ColorTemperature(src, n1);
cv::Mat result2 = ColorTemperature(src, n2);
imshow("original", src);
imshow("result1", result1);
imshow("result2", result2);
waitKey();
return 0;
}
// 色温调节
cv::Mat ColorTemperature(cv::Mat input, int n)
{
cv::Mat result = input.clone();
int row = input.rows;
int col = input.cols;
int level = n/2;
for (int i = 0; i < row; ++i)
{
uchar* a = input.ptr<uchar>(i);
uchar* r = result.ptr<uchar>(i);
for (int j = 0; j < col; ++j)
{
int R,G,B;
// R通道
R = a[j * 3 + 2];
R = R + level;
if (R > 255) {
r[j * 3 + 2] = 255;
}
else if (R < 0) {
r[j * 3 + 2] = 0;
}
else {
r[j * 3 + 2] = R;
}
// G通道
G = a[j * 3 + 1];
G = G + level;
if (G > 255) {
r[j * 3 + 1] = 255;
}
else if (G < 0) {
r[j * 3 + 1] = 0;
}
else {
r[j * 3 + 1] = G;
}
// B通道
B = a[j * 3];
B = B - level;
if (B > 255) {
r[j * 3] = 255;
}
else if (B < 0) {
r[j * 3] = 0;
}
else {
r[j * 3] = B;
}
}
}
return result;
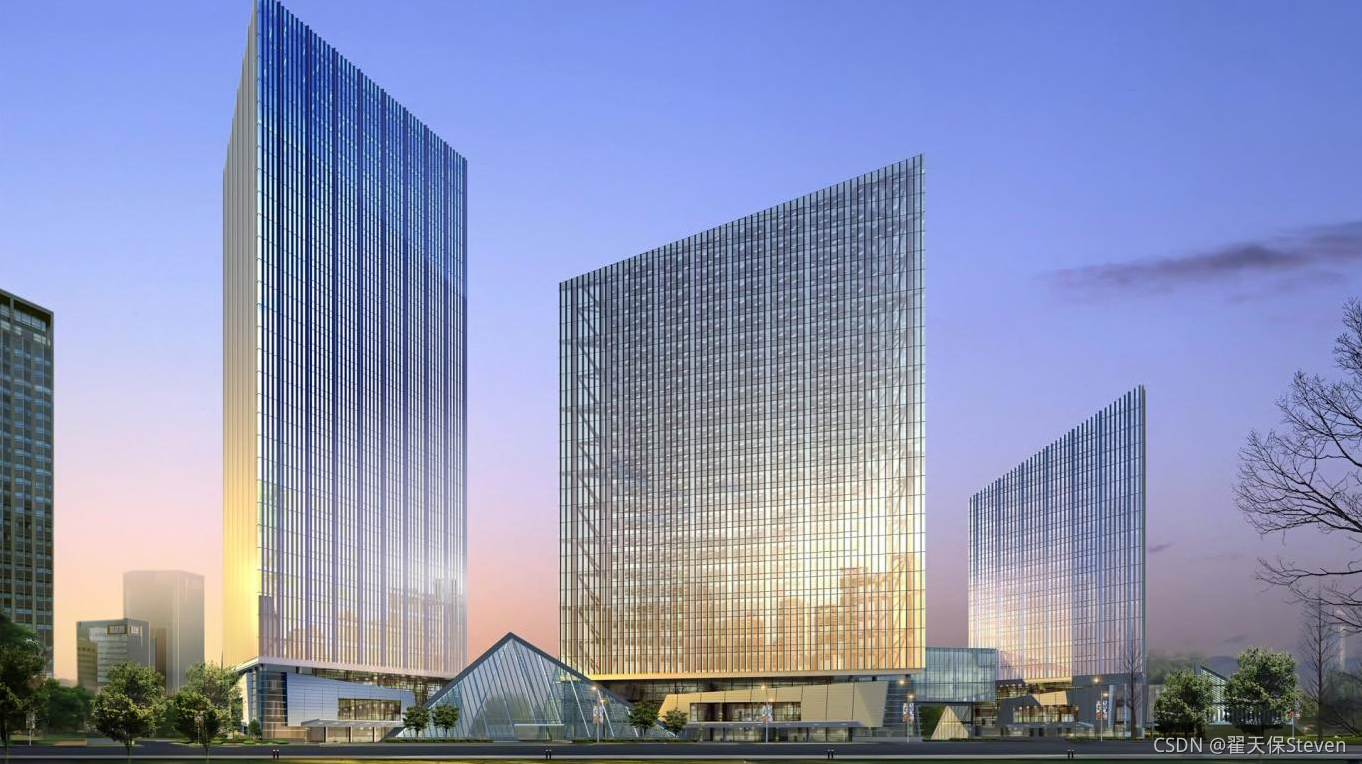
}测试效果


通过调整percent可以实现图像色温的调整。
如果函数有什么可以改进完善的地方,非常欢迎大家指出,一同进步何乐而不为呢~
如果文章帮助到你了,可以点个赞让我知道,我会很快乐~加油!
最近看了一部很棒的灾难片——《峰爆》,推荐给大家。

© 版权声明
文章版权归作者所有,未经允许请勿转载。
THE END


暂无评论内容