
0 前提准备
源代码 simple_example.py
from PyQt5 import QtCore, QtGui, QtWidgets
import sys
from OCC.Display.SimpleGui import init_display
from OCC.gp import gp_Pnt
class Ui_Dialog(object):
def setupUi(self, Dialog):
Dialog.setObjectName(“Dialog”)
Dialog.resize(400, 300)
self.buttonBox = QtWidgets.QDialogButtonBox(Dialog)
self.buttonBox.setGeometry(QtCore.QRect(30, 240, 341, 32))
self.buttonBox.setOrientation(QtCore.Qt.Horizontal)
self.buttonBox.setStandardButtons(QtWidgets.QDialogButtonBox.Cancel|QtWidgets.QDialogButtonBox.Ok)
self.buttonBox.setObjectName(“buttonBox”)
self.pushButton = QtWidgets.QPushButton(Dialog)
self.pushButton.setGeometry(QtCore.QRect(180, 110, 93, 28))
self.pushButton.setObjectName(“pushButton”)
self.retranslateUi(Dialog)
self.buttonBox.accepted.connect(Dialog.accept)
self.buttonBox.rejected.connect(Dialog.reject)
QtCore.QMetaObject.connectSlotsByName(Dialog)
def retranslateUi(self, Dialog):
_translate = QtCore.QCoreApplication.translate
Dialog.setWindowTitle(_translate(“Dialog”, “Dialog”))
self.pushButton.setText(_translate(“Dialog”, “PushButton”))
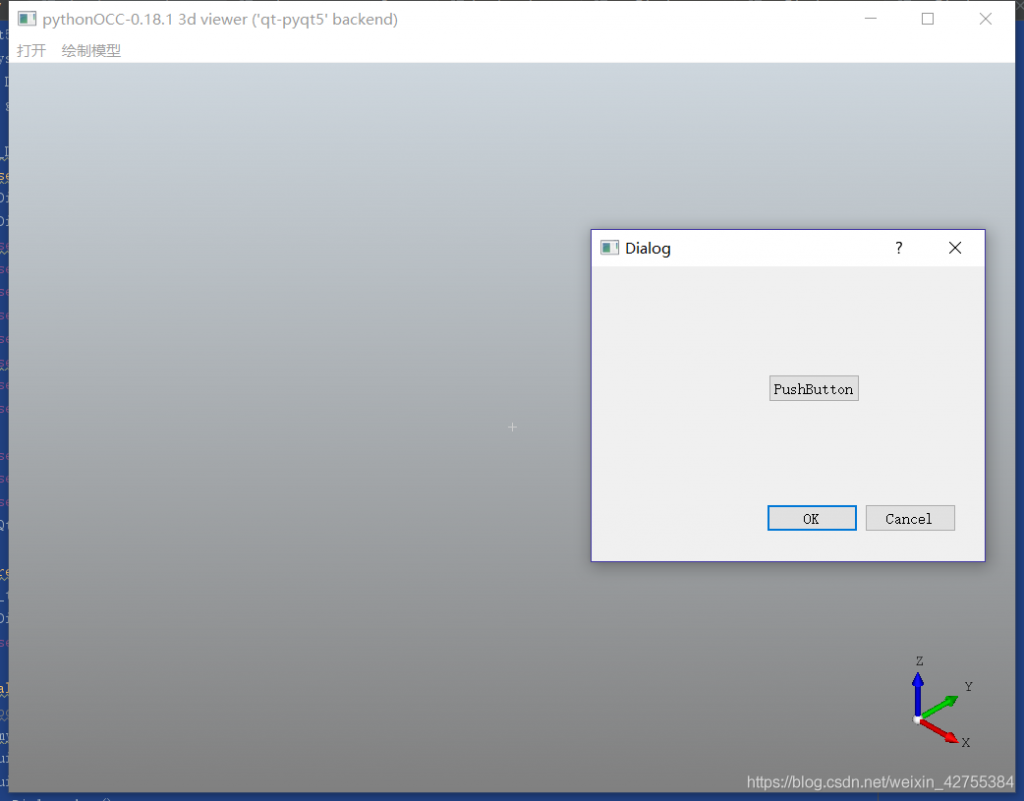
def mydialog(shp,*argus):
for point in shp:
myDialog = QtWidgets.QDialog()
ui = Ui_Dialog()
ui.setupUi(myDialog) # setupUi()是由.ui文件生成的类的构造函数(初始化界面)
myDialog.show()
sys.exit(myDialog.exec_()) # 如果没有这个函数,则对话框闪退
if __name__ == ‘__main__’:
display, start_display, add_menu, add_function_to_menu = init_display()
P0=gp_Pnt(0,0,1)
P1 =gp_Pnt(0, 30, 20)
menu_name = ‘打开’
menu_name2 = ‘绘制模型’
add_menu(menu_name)
add_menu(menu_name2)
display.DisplayShape(P0)
display.SetSelectionModeVertex() # 启动点的选中功能
display.register_select_callback(mydialog) #点击执行对话框
start_display()
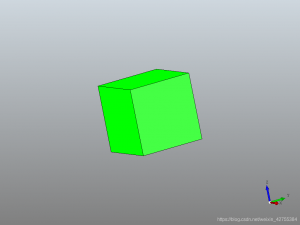
效果图
1.使用pyinstaller进行软件封装
很多人想把自己用Python编的程序打包成可执行文件exe,从而能使得自己的程序文件在别人的电脑上也能运行
pyinstaller/py2exe都可以实现相关功能,但是比对下来pyinstaller更加强大。因此我们选择pyinstaller实现。
我们以 simpe_example.py作为一个示例进行讲解:
安装 pyinstaller
激活pythonocc的环境后,在pythonocc环境里安装pyinstaller

pip install pyinstaller
pyinstaller打包simpe_example.py文件
首先cd 到simpe_example.py文件所在的文件夹
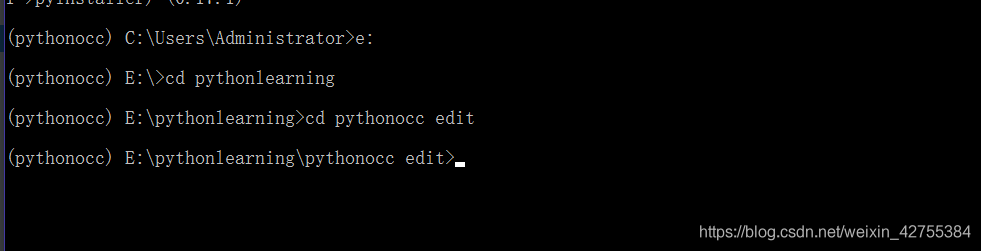
输入,打包代码
pyinstaller -F simple_example.py
会输出如下信息:
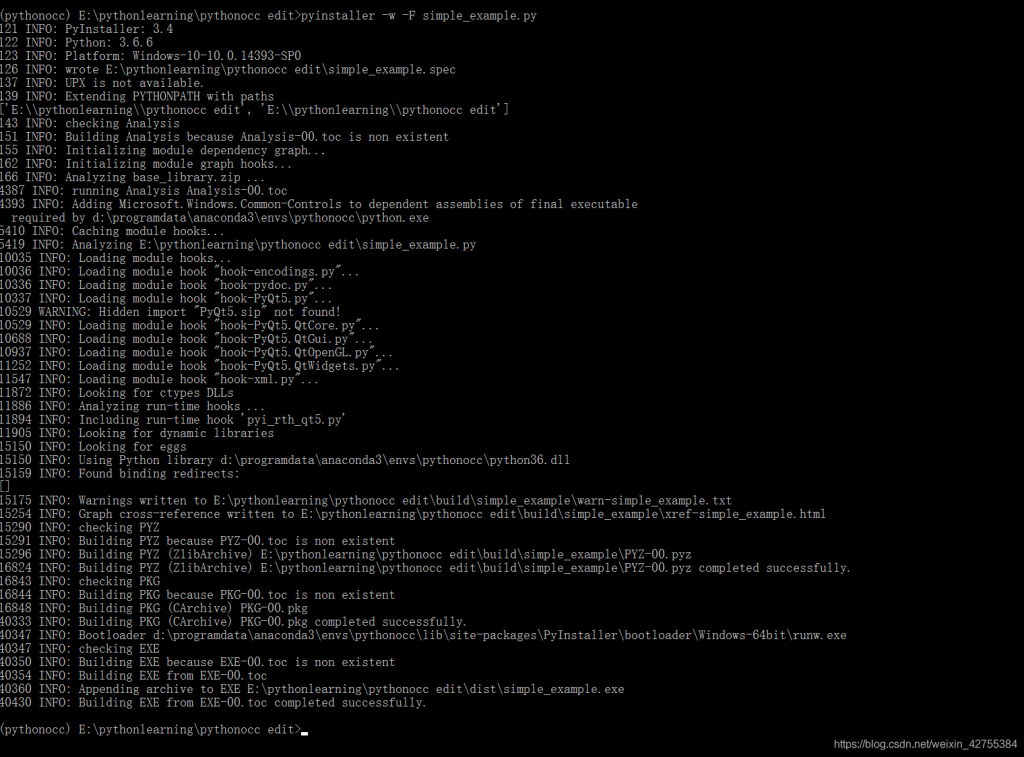
生成的exe文件夹在simple_example.py的同一文件夹中的dist中
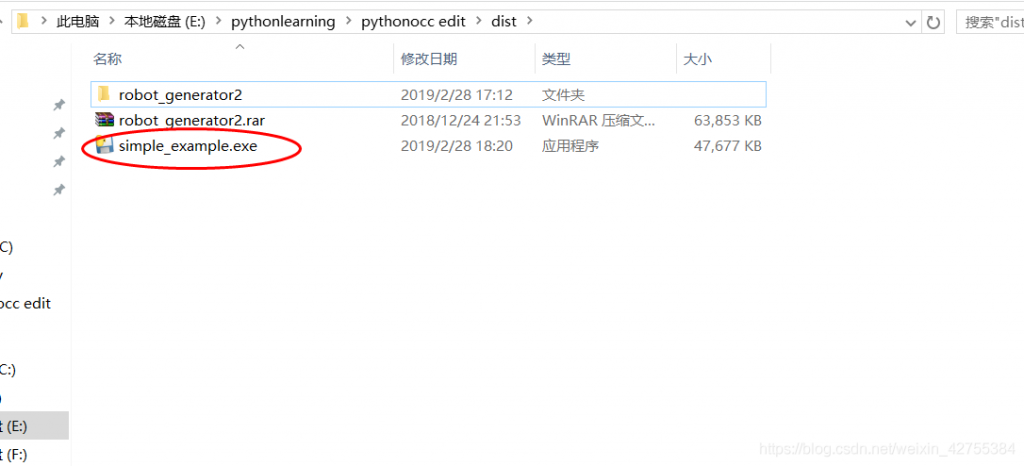
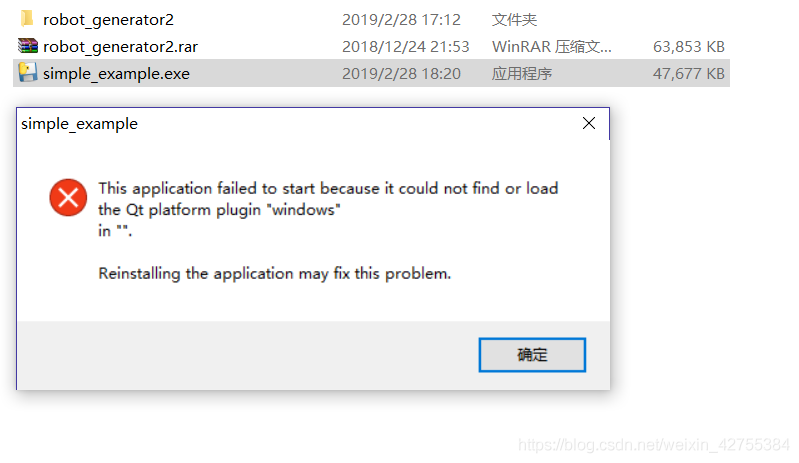
我们运行下试一试,会发现出现如图所示的bug,这不是唯一的bug,接下来我们就要排除这些bug
2.排除bug,补充依赖文件
之所以该exe打不开,是因为缺少了依赖文件,需要我们手动拷贝进去。
第一个bug
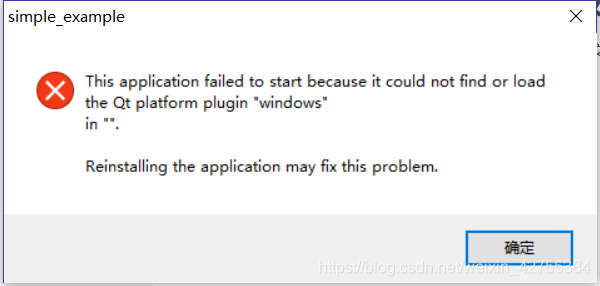
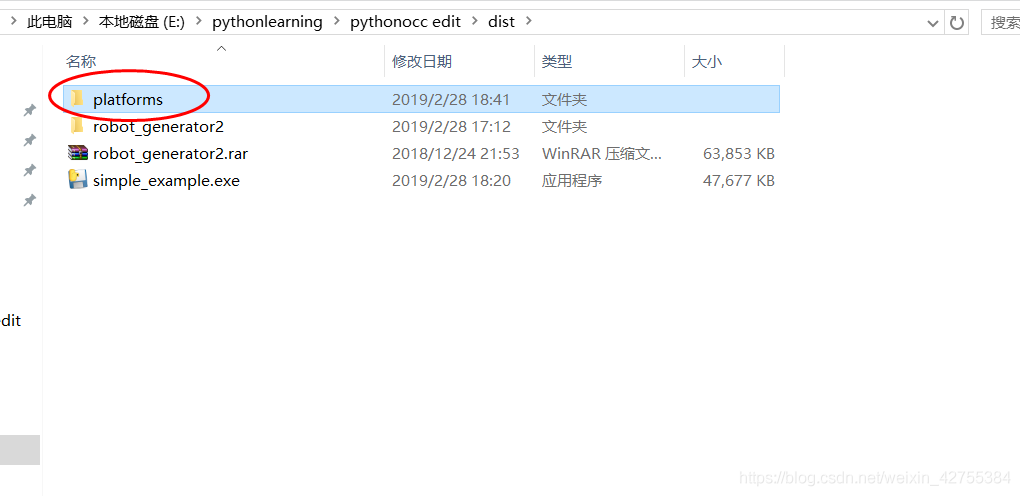
分析一下,发现是缺少qtplatform
前往pythonocc的环境找到platforms文件夹
我的platforms 是在这里的
D:\ProgramData\Anaconda3\envs\pythonocc\Library\plugins\platforms
1
然后将整个文件夹拷贝到exe同一文件夹
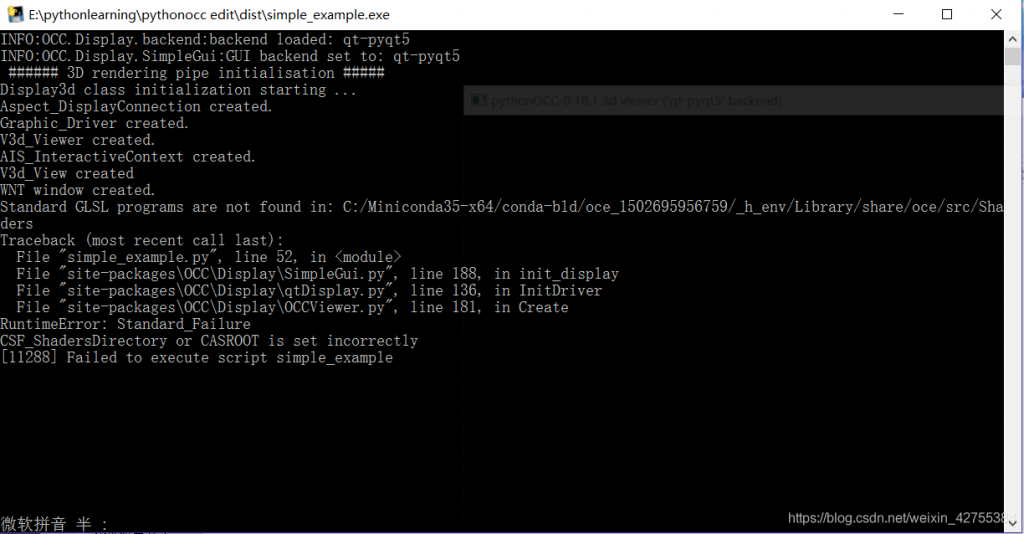
再去重新打开下该exe,发现该exe打开会闪退
第二个bug(这个bug也是最难解决的bug)
闪退的exe,并留下如下该信息
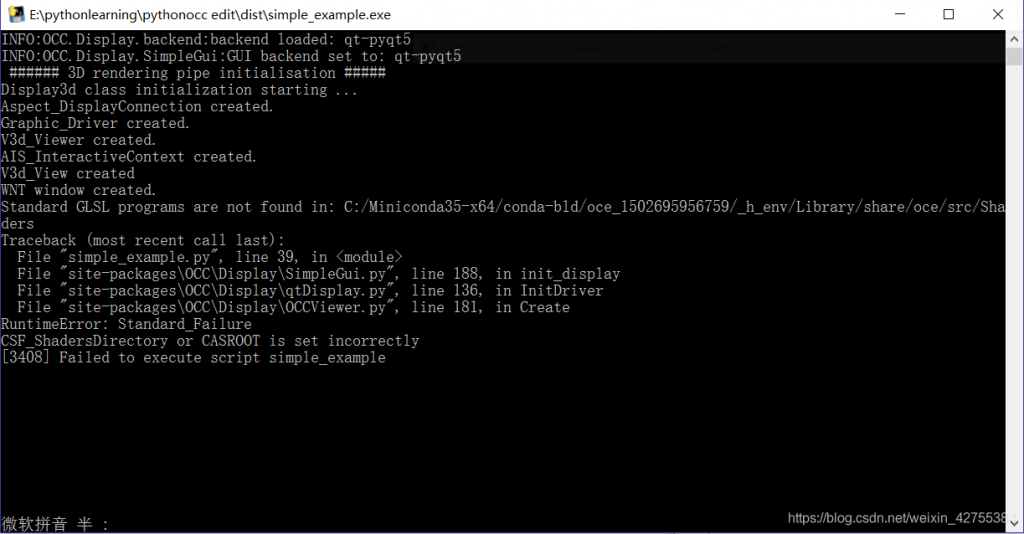
错误信息如下
Standard GLSL programs are not found in: C:\Miniconda35-x64\conda-bld\oce_1502695956759\_h_env\Library\share\oce\src\Shaders
1
意思就是c盘里对应文件夹没有shader,如果你将该文件拷贝到到c盘,确实可以正常打开exe了。
但是!!!
我们的目的是在别人的电脑上运行该软件,难道先把exe拷贝给别人,再让别人将shader文件拷贝到自己电脑指定位置上????
显然没有这样做软件的!
我们的解决方案是:
在simple_example.py中添加如下代码:
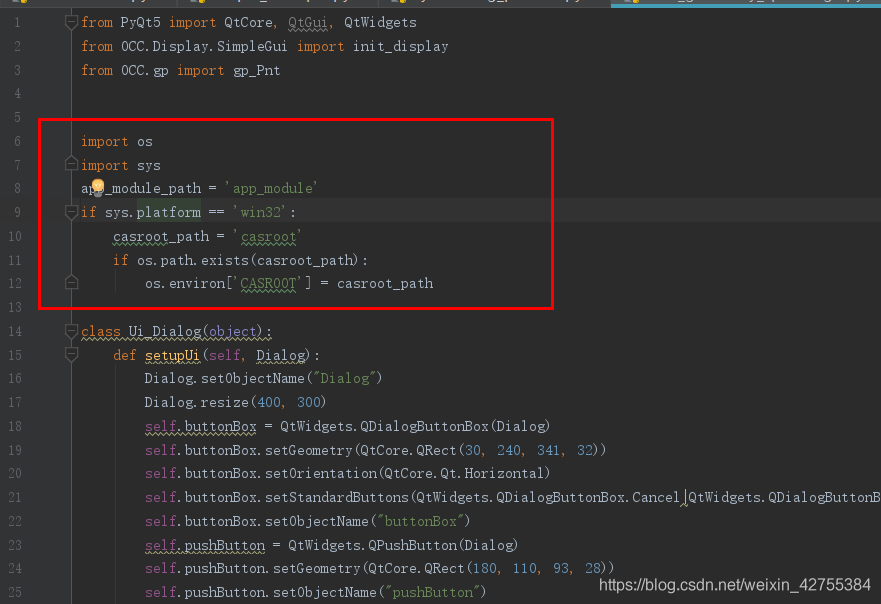
添加的代码如下:
import os
import sys
app_module_path = ‘app_module’
if sys.platform == ‘win32’:
casroot_path = ‘casroot’
if os.path.exists(casroot_path):
os.environ[‘CASROOT’] = casroot_path
在simple_example.py同一个文件夹下创建simple_example.spec,拷贝如下的代码就好(txt写,然后改后缀名就可以)
# -*- mode: python -*-
# -*- coding: UTF-8 -*-
block_cipher = None
# code …
import OCC
folder_paths = []
#copy the folder where the casroot is located to a folder called casroot in the executable folder
occ_pkg_path = os.path.dirname(OCC.__file__)
casroot = os.path.join(occ_pkg_path, ‘..’, ‘..’, ‘..’,
‘Library’, ‘share’, ‘oce’)
casroot_paths = (casroot, ‘casroot’)
folder_paths.append(casroot_paths)
#
#model_path = (os.path.join(os.getcwd(), ‘models’), ‘models’)
#folder_paths.append(model_path)
a = Analysis([‘simple_example.py’],
pathex=[os.getcwd()],
binaries=[],
datas=folder_paths,
hiddenimports=[],
hookspath=[],
runtime_hooks=[],
excludes=[],
win_no_prefer_redirects=False,
win_private_assemblies=False,
cipher=block_cipher,
noarchive=False)
pyz = PYZ(a.pure, a.zipped_data,
cipher=block_cipher)
exe = EXE(pyz,
a.scripts,
[],
exclude_binaries=True,
name=’name’,
debug=False,
bootloader_ignore_signals=False,
strip=False,
upx=False,
console=True )
coll = COLLECT(exe,
a.binaries,
a.zipfiles,
a.datas,
strip=False,
upx=True,
name=’simple_example’)
第三个bug
有可能你还能遇到如下bug,这个也就是找到相关文件,然后拷贝到bug中提示的位置就好了。比较简单